How to Test Drive gThumb 4.0 Alpha: A Step-by-Step Guide to the GTK4 Makeover
Introduction
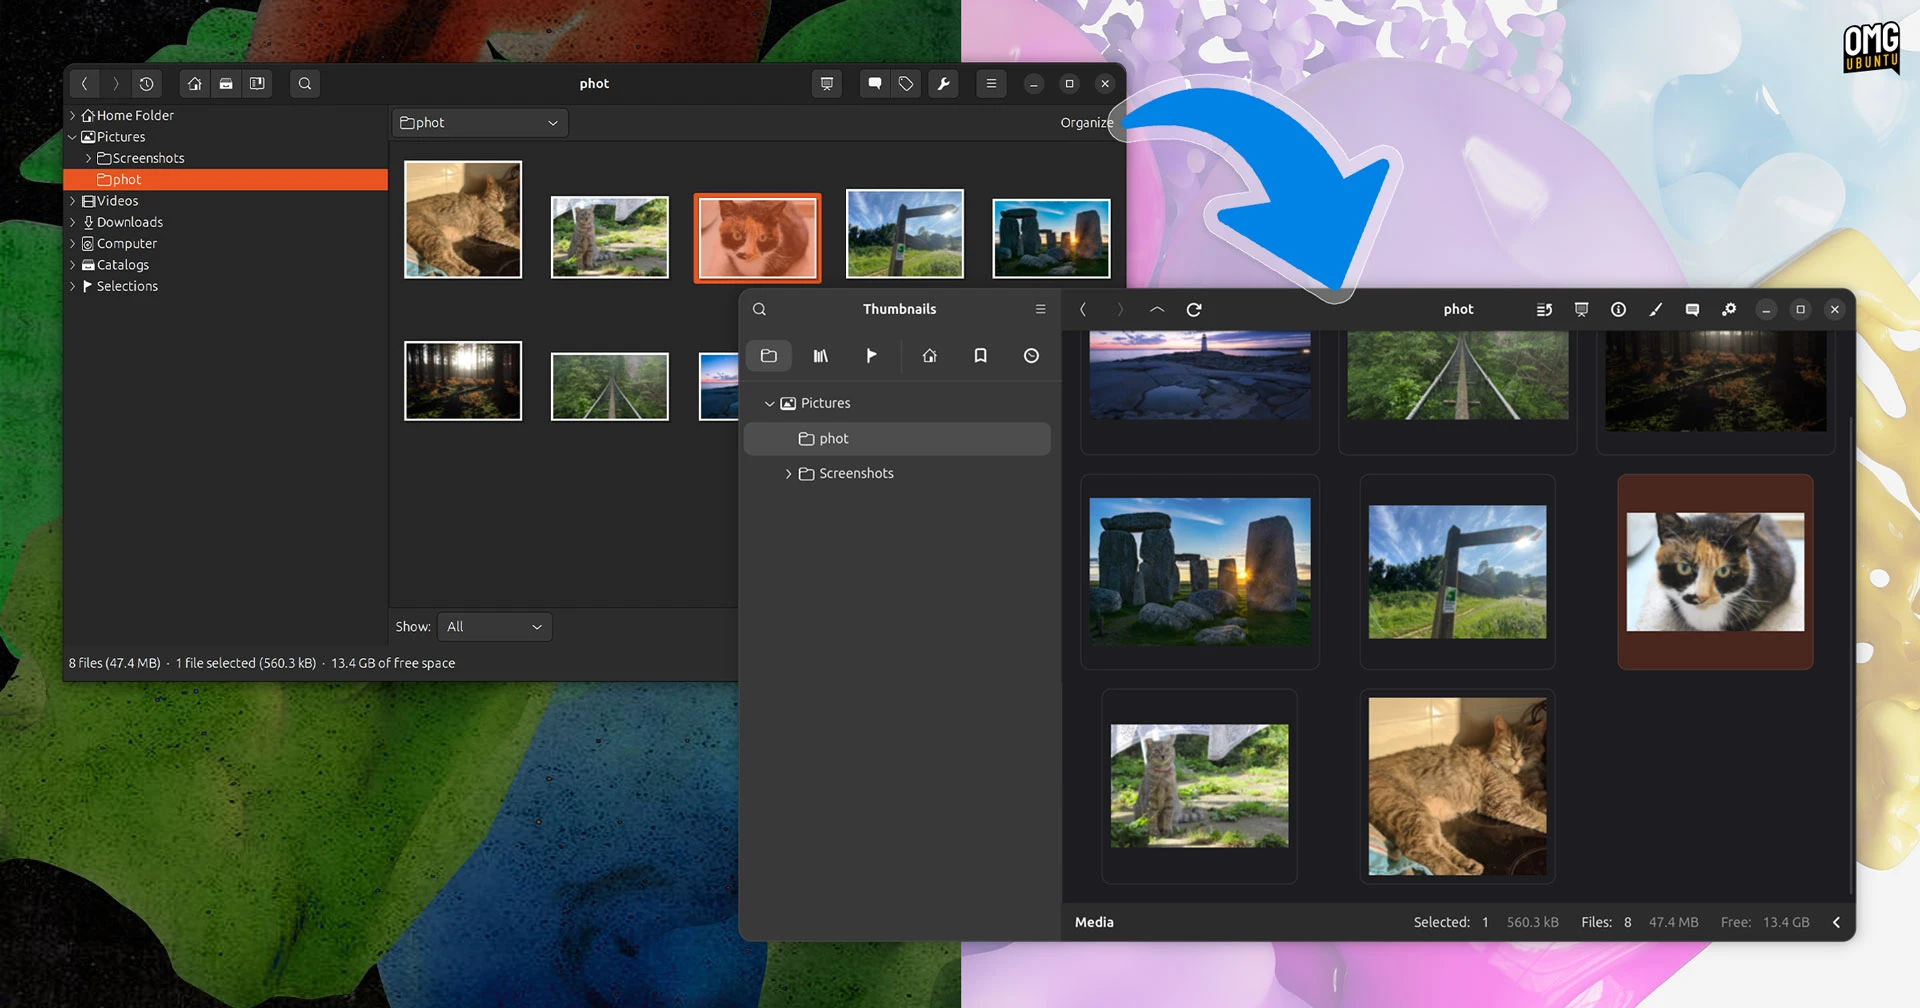
If you've been using gThumb as your go-to image viewer and organizer on Linux, you're in for a treat. The open-source tool has undergone a massive transformation: it's been rewritten in Vala and ported to GTK4 and libadwaita. The result is a fresh, modern interface that's barely recognizable from its previous version. But the changes go beyond looks—this alpha release of gThumb 4.0 also adds support for WebP and PNG animations, lets you export images in the JXL format, and includes a handy censor filter to pixelate or blur parts of an image.

This guide will walk you through getting your hands on the alpha build, installing it on your Linux system, and exploring its new features. Whether you're a developer eager to test the waters or a curious user wanting to see what's next, follow these steps to experience the next evolution of gThumb.
What You Need
- A Linux distribution (Ubuntu, Fedora, Arch, etc.) with a working internet connection
- Basic terminal experience – you'll run a few commands
- Development tools – such as
git,meson,ninja, and a C/Vala compiler - GTK4 and libadwaita dependencies – the exact packages vary by distro
- Patience – this is an alpha build, so expect some rough edges
Step-by-Step Guide
Step 1: Install Required Dependencies
Before you can build gThumb 4.0 from source, you'll need the development libraries for GTK4, libadwaita, and other dependencies. Open a terminal and run the commands for your distribution:
- Ubuntu/Debian:
sudo apt install git meson ninja-build libgtk-4-dev libadwaita-1-dev libgdk-pixbuf-2.0-dev libxml2-dev libexiv2-dev liblcms2-dev libjpeg-dev libpng-dev libtiff-dev libwebp-dev libjxl-dev libgstreamer1.0-dev libgstreamer-plugins-base1.0-dev valac - Fedora:
sudo dnf install git meson ninja-build gtk4-devel libadwaita-devel gdk-pixbuf2-devel libxml2-devel exiv2-devel lcms2-devel libjpeg-turbo-devel libpng-devel libtiff-devel libwebp-devel libjxl-devel gstreamer1-devel gstreamer1-plugins-base-devel vala - Arch Linux:
sudo pacman -S git meson ninja gtk4 libadwaita gdk-pixbuf2 libxml2 exiv2 lcms2 libjpeg-turbo libpng libtiff libwebp libjxl gstreamer vala
Note: Some package names may vary. If you hit missing dependencies, check the error message and install the corresponding package.
Step 2: Clone the gThumb Repository
With the dependencies installed, clone the official gThumb Git repository. The development branch for the GTK4 port is likely master or a specific branch named gtk4. Use the following command:
git clone https://gitlab.gnome.org/gnome-utils/gthumb.git
cd gthumb
If the default branch is not the GTK4 version, check the repository's README or issue tracker for the correct branch and switch:
git checkout gtk4Step 3: Configure and Build
Now create a separate build directory and run Meson to configure the project:
meson setup builddir
If Meson complains about missing dependencies, install them and repeat. Once configuration succeeds, compile the code with Ninja:
ninja -C builddir
This process may take a few minutes. If you see errors, double-check that all dependencies are installed correctly and that your distribution's versions meet the minimum requirements.
Step 4: Run the Alpha Build
After a successful build, you can run gThumb directly from the build directory without installing it system-wide:
./builddir/gthumb
This launches the new GTK4/libadwaita interface. You'll immediately notice the modern look: rounded corners, adaptive layouts, and a cleaner toolbar. Spend some time browsing images, opening folders, and testing the new features.
Step 5: Explore New Features
Now that gThumb 4.0 is running, here's what to look for:
- WebP and PNG animations – Open a .webp or animated .png file. You should see the animation playing smoothly in the viewer. Previous versions didn't support these formats.
- JXL export – Go to File → Export and choose JPEG XL as the format. This modern image codec offers better compression and quality.
- Censor filter – Select an image, then go to Image → Filters → Censor. You can pixelate or blur selected areas. Great for redacting sensitive information.
- Visual overhaul – The entire UI has been revamped. Check the preferences dialog, the sidebar, and the thumbnail layout. Everything feels more modern and consistent with other GNOME apps.
Step 6: (Optional) Install System-Wide
If you want to replace your current gThumb installation, you can install the alpha version:
sudo ninja -C builddir install
However, since this is an alpha, it's recommended to run it from the build directory to avoid breaking your stable setup.
Tips for a Smooth Experience
- Back up your image library – While gThumb itself shouldn't damage files, alpha software can behave unpredictably. Keep backups.
- Expect bugs – This is an early release. Some features may crash or behave strangely. Report issues to the developers on GitLab.
- Use a separate user profile – To avoid messing with your existing gThumb settings, you can run the alpha with a custom configuration directory:
XDG_CONFIG_HOME=/tmp/gthumb-test ./builddir/gthumb - Stay updated – The GTK4 port is actively developed. Pull the latest code frequently to get fixes and improvements:
git pull && ninja -C builddir - Join the community – Check the GNOME Discourse or gThumb mailing list for discussions about the new version.
Related Articles
- Scaling Efficiency at Hyperscale: Meta’s AI-Powered Capacity Optimization Program
- gThumb 4.0 Alpha: A Modernized Image Viewer with GTK4 and Libadwaita
- Meta's AI-Powered Capacity Efficiency: Automating Hyperscale Performance Optimization
- Massive Security Patch Rollout Hits Linux Distributions: Critical Fixes for Over 100 Flaws
- Building a Self-Sustaining Efficiency Engine: A Step-by-Step Guide to Meta's AI-Powered Capacity Optimization
- Exploring Fedora KDE Plasma Desktop 44: Key Updates and New Features
- Linux Mint's HWE ISOs: Enhancing Compatibility for New Hardware
- Accelerating Linux Page Migration with AMD’s New Batch Copy Patches: A Developer’s Guide